You can customize what information you see in a Form in various ways. This article describes how to select columns and create a custom view within your Form.
Saving a custom Table View
Table view is the default view when you open your Form. To create a custom Table view, follow these steps:
- Click on “Views” to open the customization side panel.
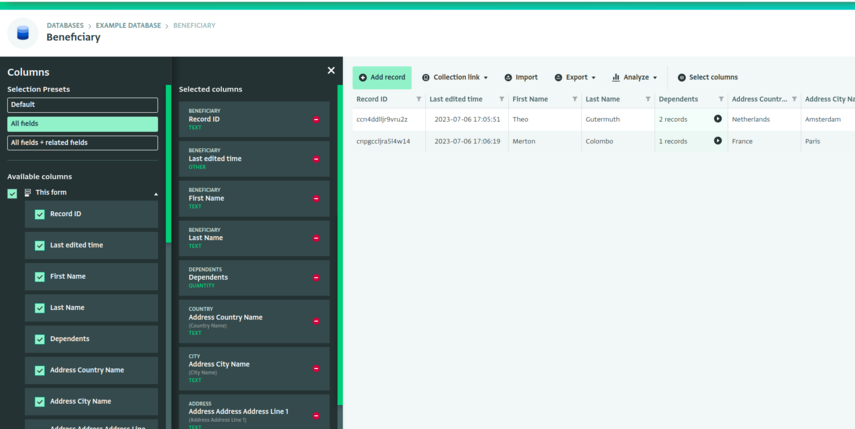
- Click “Select columns” on the “Views” side panel.
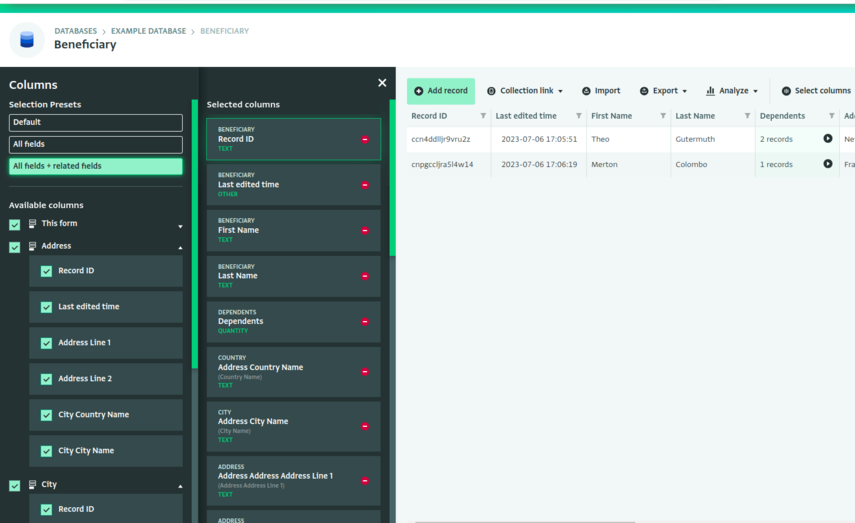
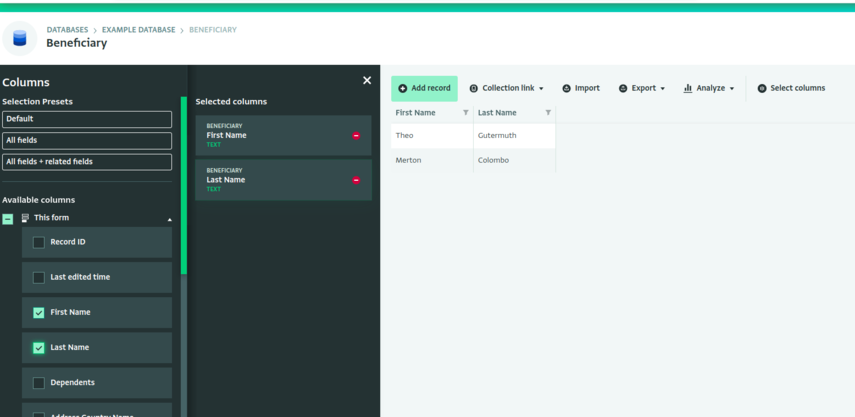
- Select the columns you want to see by adding, removing or renaming columns:
- To add columns to the "Selected columns" list, click the checkbox next to the fields you want to view from the "Available columns" list.
You can select all of the fields on a form by clicking the checkbox next to the form name.
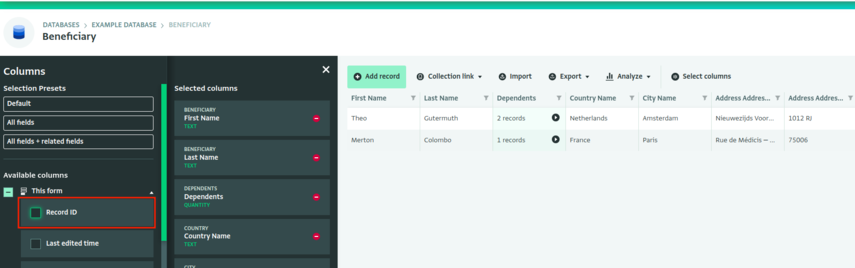

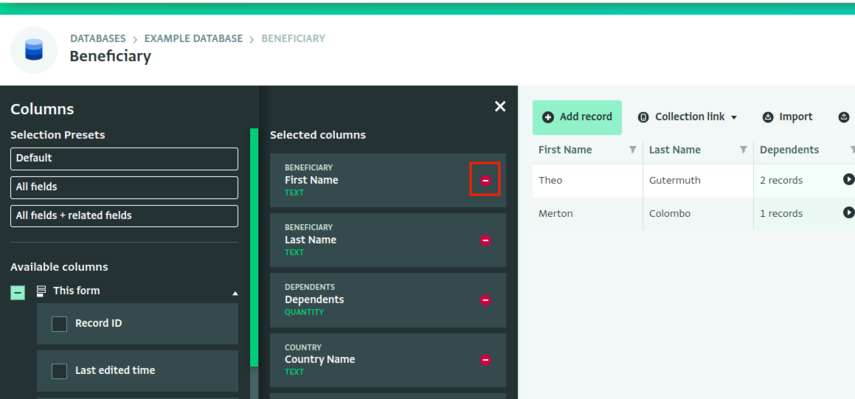
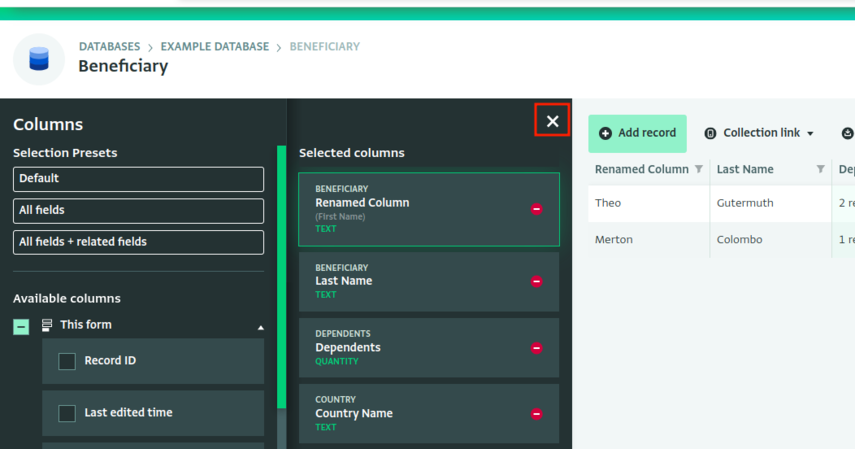
- To remove a column from the "Selected columns" list, click on the red “Delete” button on the column. Alternatively, click on the column that you want to remove and click on the "Delete" button.
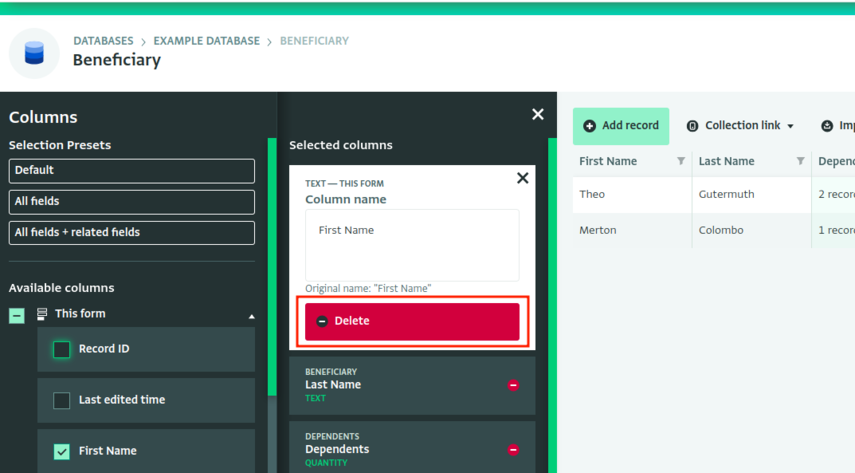
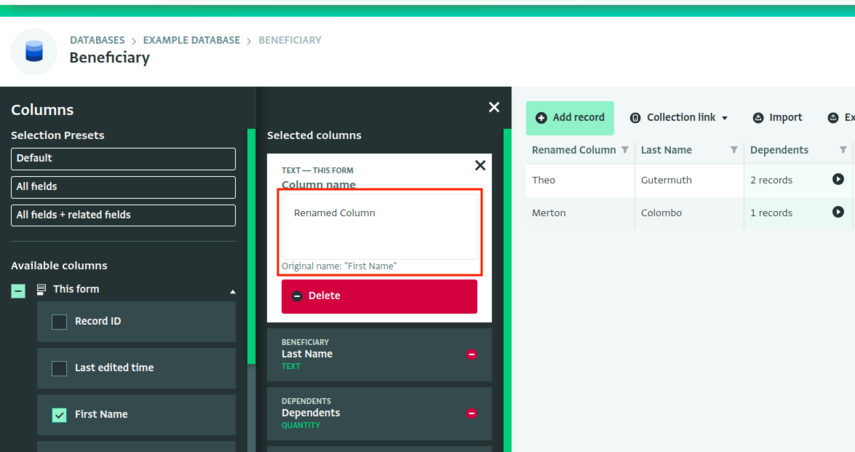
- Rename a column to change the header in the Table View. This does not affect the Data Entry page. You can also still see the original name for reference.
- Apply your selection by clicking on the "X" mark on the top right corner of the “Columns” side panel.
- You created a custom view.
- Click “Save” on your “Untitled” personal views to save and rename it.
Alternatively, you can rename your personal local view by clicking “Rename”.
- Create as many personal views as you need.
Click on your personalized view and click “Save as copy”, and update the columns according to your needs. - Optionally you can share your personalized view with your Database users by clicking on the Custom view and selecting “Set to shared.”
- Switch back and forth between your personal views.
As a Database administrator, you have the option to further customize your and your users' experience by setting a shared (custom) view as default view for you and everyone in the Project. For more information, see Changing the default view.
Preset Selection
You can quickly select multiple columns from your form, and any related forms, using selection presets.
Keep in mind that:
- Selecting a preset overwrites your current selections.
- Once you select a preset selection, you are free to make additional column selections or remove columns as needed. You can always reuse the preset.
Some fields, such as attachment fields, are not selected via the preset selection options.
Default preset
The default selection is the state of the form when you first open the Table View. You can use the "default" preset to reset your selection back to the default state.
All fields preset
The "all fields" preset selects all of the fields from the current form you have open in the Table View.

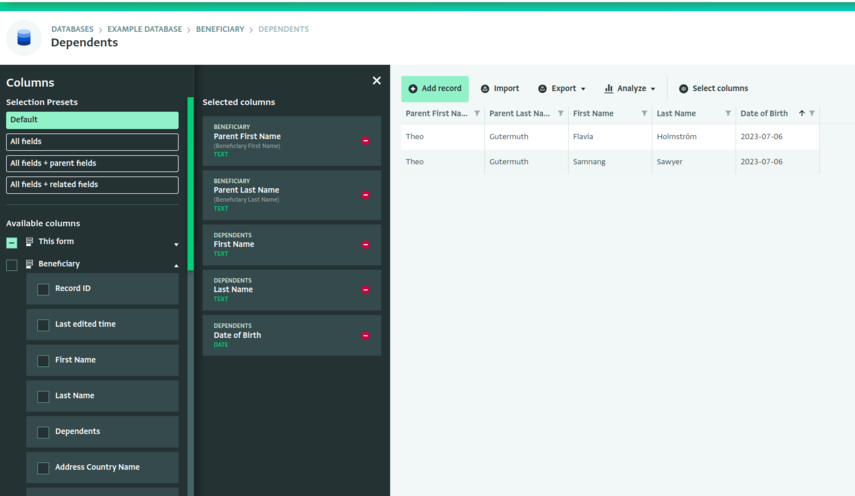
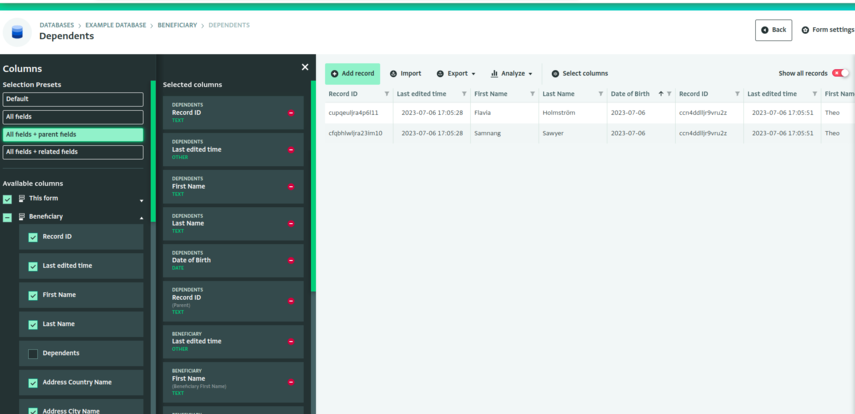
All fields + parent fields preset
When viewing a subform, the "all fields + parent fields" preset selects all of the fields from the current form you have open in the Table View, as well as all fields from parent forms.
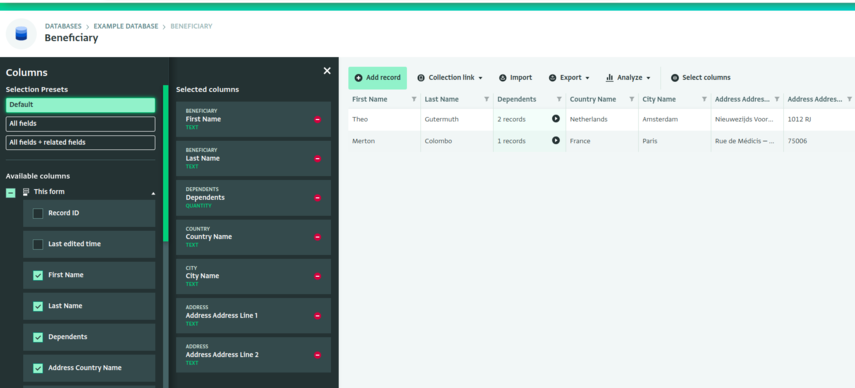
All fields + related fields preset
The "all fields + related fields" preset selects all of the fields from the current form you have open in the Table View, as well as all fields from related forms which are linked via reference fields.