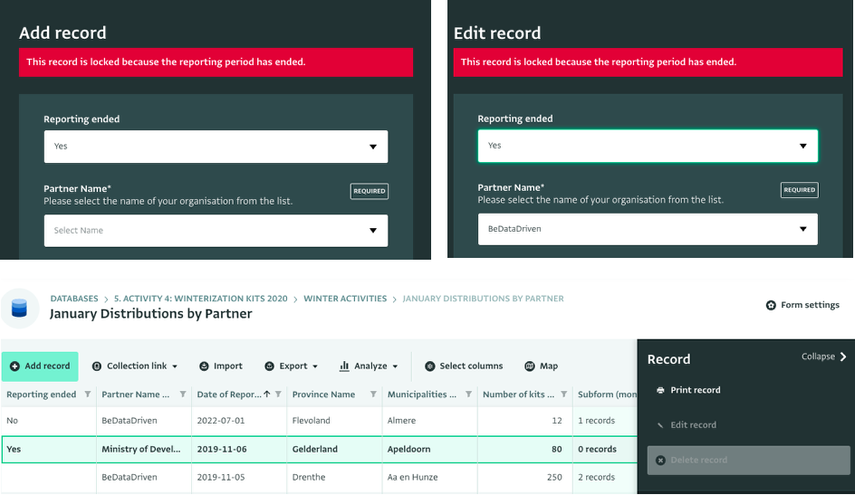
This article explains how to add rule-based Locks to a Form or Subform to prevent users from adding, editing, or deleting Records. This type of Lock uses the boolean result of a formula, allowing versatile usage.
By adding a rule-based Lock you can preserve versions of the Records (after they have been validated by your information management processes, for example) and make sure that no user can edit them.
Rule-based locks utilize a Formula to define a rule that determines whether a record should be locked. This type of Lock allows for criteria beyond dates, such as region or response type, to be considered. The formula must produce a Boolean result.
Note: If a Record of a Form is locked, the Records of the Form's Subforms are also locked. This ensures consistency and prevents any unauthorized modifications.
Locks can be set as active or inactive, allowing for temporary suspension of a lock when locked Records need to be edited. For more information, see Suspending or Deleting a Lock.
Alternatively, you can add a date range Lock.
How to add a rule-based Lock
To create a rule-based Lock in your Form or Subform, follow these steps:
- Make sure that the Form or Subform contains the Field on which your rule can be based on, and that this field has a boolean-typed result.
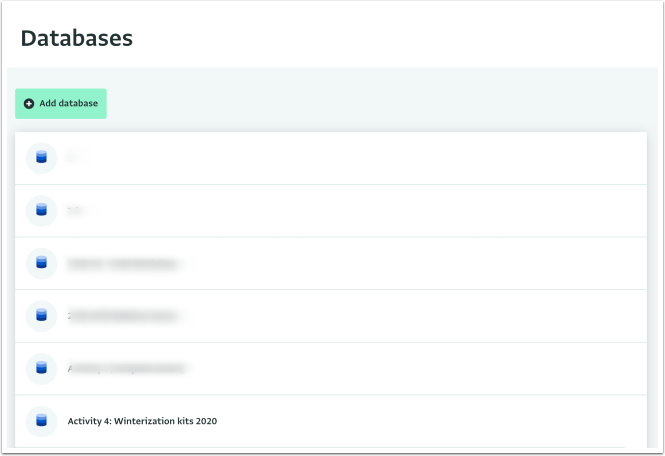
- On the Database List page, click on the Database that contains the Form you want to add a rule based Lock to.
- Click "Database settings."

- Navigate to the Form or Subform to which you want to add the rule-based Lock.
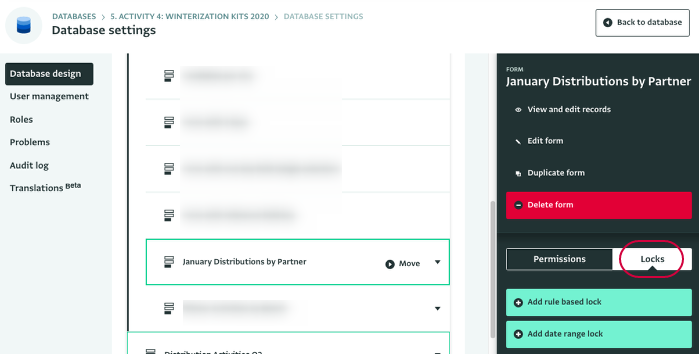
Click on the arrows to reveal the contents of Folders, if needed. - In the Resource side panel of the Database Design section, click "Locks" to open the Locks tab.
- Click "Add rule based lock".
- Give a descriptive name to the Lock.
- Type the message you would like data entry users to see when a Record is locked.
- Type in the Formula for the rule or click on 'Formula editor' to view all fields in the Formula editor.
- If the “Active” checkbox is checked, the Lock is active. If the “Active” checkbox is not checked, the lock is temporarily suspended. You will still be able to view it it in the side panel.
- Click "Save" to save the Lock.
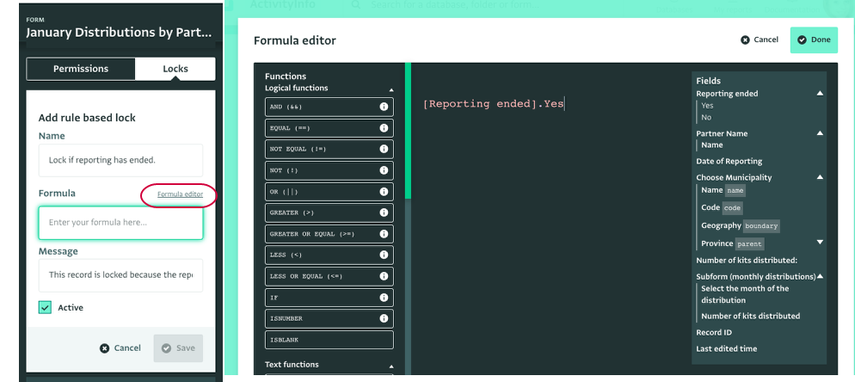
Result: You created a Lock.
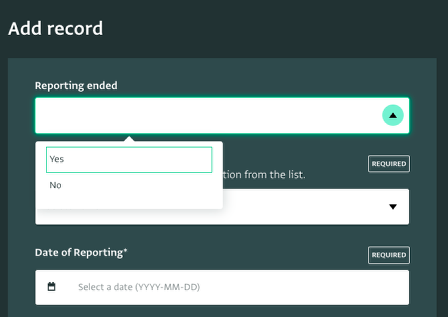
When the lock is active, users trying to add a Record that goes against the rule they will get a warning and won't be able to save the Record.
When an existing Record is affected by the rule-based Lock, users are not able to edit or delete it.
